PROCEDURAL SPLINE TREES
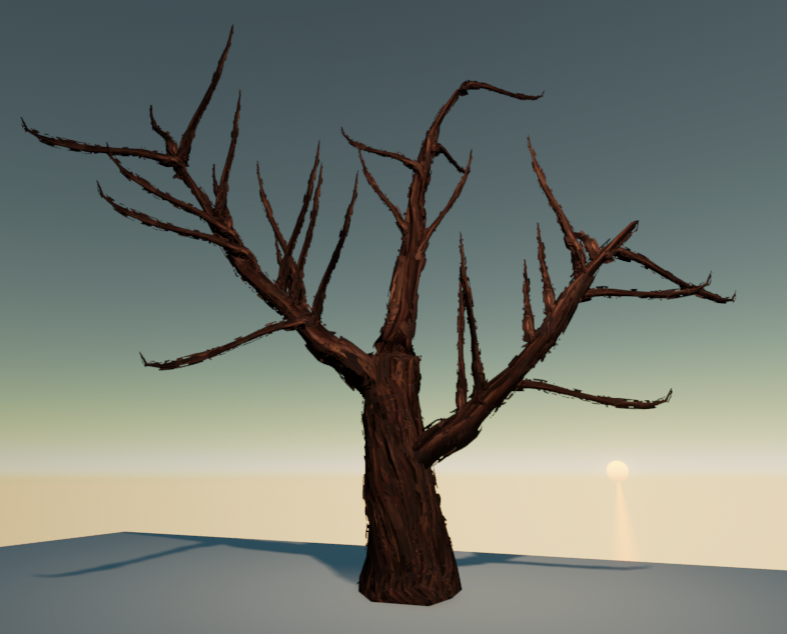
• Splines for primary branches can be dragged out.
• Tangents of splines can be rotated and scaled.
• User can add up to 10 primary branches that split form trunk.
• Secondary branches are generated randomly along primary branches with awareness for other branches.
• Implemented random streams so you can modify a random seed to change the tree rather than have it change every time the Blueprint recompiles.
Next steps:
• As the tree branches out to further tiers with smaller branches, more small branches will be included in one piece. Experiment with what these pieces are.
• Continue tweaking parameters on randomly placed branches to get a more natural result.
• Figure out what the loose style should be to generalize detail as it becomes more busy (tiny branches and leaves.)
BOAT
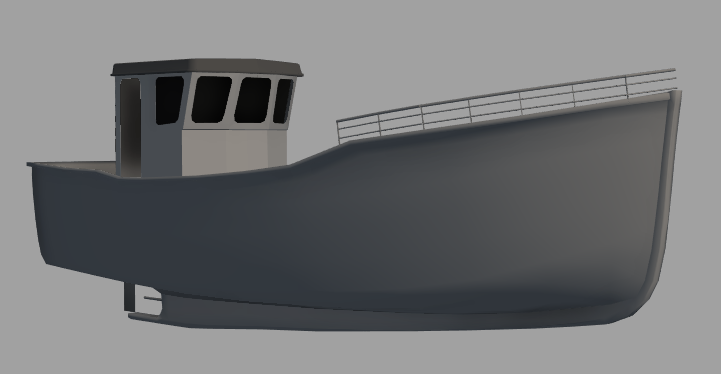
• Modeled the boat to prepare for the boat deterioration dream sequence - this is an understatement. The modeling was the easiest part once I figured out how a boat actually works, which has been the majority of the problem solving. They have a very specific and subtle form and curvature that was a bit hard to capture initially until studying a variety of different boats. The shape of the hull is complete, everything else is in progress (railing is a stand in for scale.)
| This came a long way from what I started on last week, which looked like a toy boat. I can't stress enough how important it was that I got the form of this right before proceeding. | 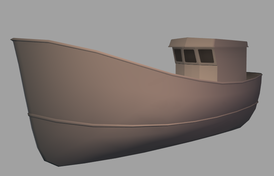 |
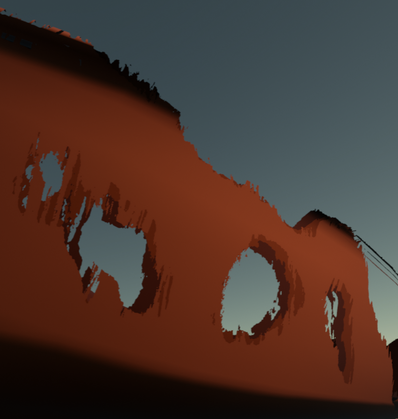
Very early tests just to demonstrate the concept of layered meshes to get a painted look with expressive detail (i.e. a rusted boat showing through to an underlying skeleton.)
• Mesh is added to a Blueprint as a component, duplicated multiple times (in this picture, 3x)
• Each duplicate has a different material instance applied of the main material.
• The main material is a hand painted B+W mask with a smooth falloff from black to white. This is to get enough of a gradient in the gray values to multiply in a tiling hand painted B+W brush stroke mask, that adds the textural quality to these masked edges.
• Rather than hand painting the mask for the boat in the exact way I want it, I compile the mask in the shader to allow for different levels of clamping on each material instance. This is what allows for the dynamic transitioning of the deterioration of this boat.
• Parameters for UV offset and tiling multiplier to ensure the brush stroke pattern is not repeated on each "layer" of the material instance.
• Each mesh is "pushed" in on within the shader on the vertex normals of the mesh. Each layer/material instance is pushed in an increasing amount. This makes it so the mesh does not have to have these layers baked in, so every time I want to modify the distance between each layer, I don't have to tweak the model in Maya and re-export.
ROCKS AND WAX
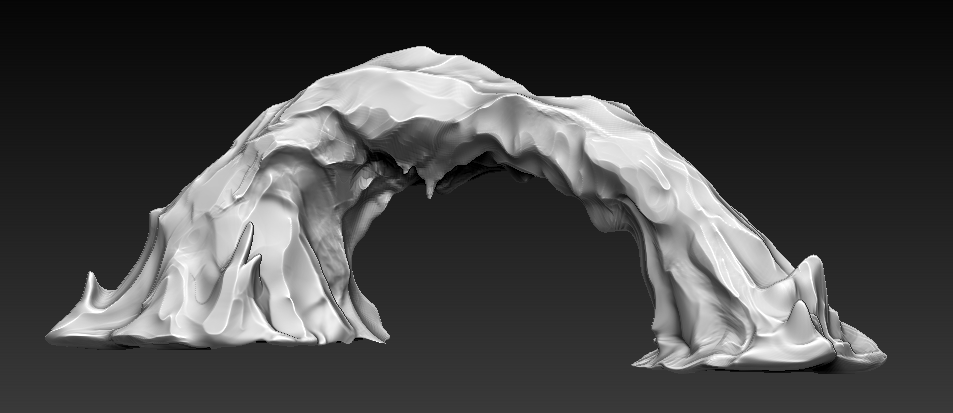
Concept Zbrush sketch of a rock arch and its waxy form. Next steps are making a model for this and experimenting with painterly silhouette additions to get this look.
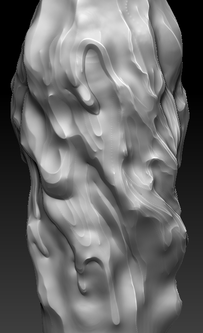 |  |
Concept wax sculpts to use in the creation of tiling textures. Not sure I like the result of these - they might be too sculpted and detailed for the painted style I am going for.
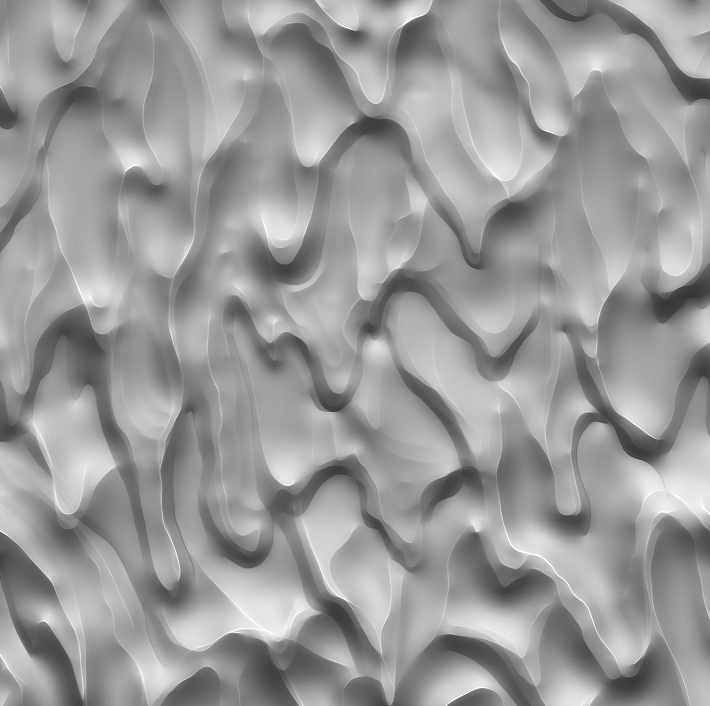
I had a thought that I could use Substance Designer FX maps to generate procedural tiling brush stroke maps that follow a hand painted flow map for their directionality - a similar approach to this .
This might be somewhere I start to explore, especially to gain better control with the B+W brush stroke maps. Hand painting is great for some things, but hand painting tiling textures can often be a painstaking process, only to find you don't like the result after hours of painting. It is also hard to get a very evenly distributed level of detail when hand painting tiling textures. Naturally you hand craft some areas more than others, and these tend to be the areas that stick out when the texture tiles a couple of times.
