My goal for this week has been to push the look of my boat further through defining its material and to work on the material blending between the painted boat material and the rusted boat material.
The opacity masked look has been working decently to get a sense of a painted edge quality, but something I have been lacking that I really admire about paintings is the mix between hard edges and lost edges. The brush strokes on an edge aren't always all completely hard and opaque. The problem is UE4 masked materials don't allow for grayscale alpha values, they clip black and white- it's either 100% or 70% opacity. Translucent materials can provide this, but they're more intensive.
I discovered that in the UE4 content examples, they demonstrate a technique used to fake translucence with masked materials by dithering. Dithering is a graphics technique used to simulate value using the density of a bunch of tiny dots when a color palette is limited. The DitherTemporalAA node in the material editor provides that kind of effect.
This same method seems to work to my advantage to give my opacity masks a softer look. Even though the little dots might technically be considered an artifact, it unexpectedly works to my advantage to give my opacity masks a softer, posterized/quantized look that aids in the painted style.
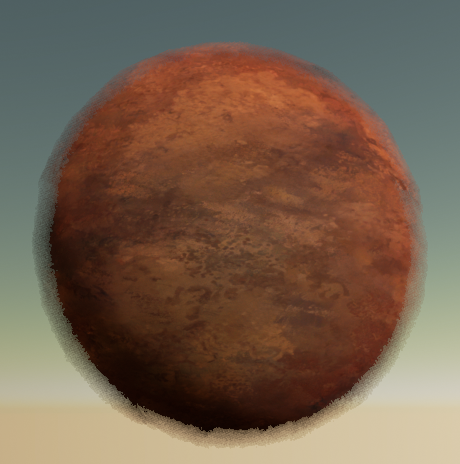 |  |
These images show a sphere with the dithered opacity masked by fresnel so it only shows up on the view angle dependent edges of the sphere. Here I've also tried multiplying that dithering by different brush stroke opacity masks to yield slightly different edge qualities. I had tried this same technique before with translucent materials to soften the edges by decreasing their opacity with fresnel as a mask, but the transition was very soft and it tended to look like the object was fading away.
Thinking forward, I would love to create a universal Material Parameter that can be modified by Blueprints across all materials to modify their edge quality, globally or locally. As things become more intense, the brush strokes at the edges might become less calm and more hard-edged and haphazard. I'd also like to do some modification to this edge effect based on how much light is hitting the object. I find in paintings, areas that fall into shadow tend to have lost edges more so than ones in the light. This kind of subtlety might really add depth to the visuals. Another parameter this effect could be dependent on would be distance or even focal point. Paintings use strongly defined edges to emphasize a focal point. Usually foreground elements might also be sharper, and background elements might have more lost edges if they are not the focus.
I've been trying to find a good way to get the model specific detail I need to define the structure of the boat with more than just tiling textures. A method of sculpting or modeling a high poly and baking it down for additional normal detail doesn't really work well here. Normal maps I have tried to create so far all seem to break the loose painted look I'm going for. I hope to continue investigating non-traditional ways I can apply normal maps to bend light and enhance the painted look rather than diminish it.
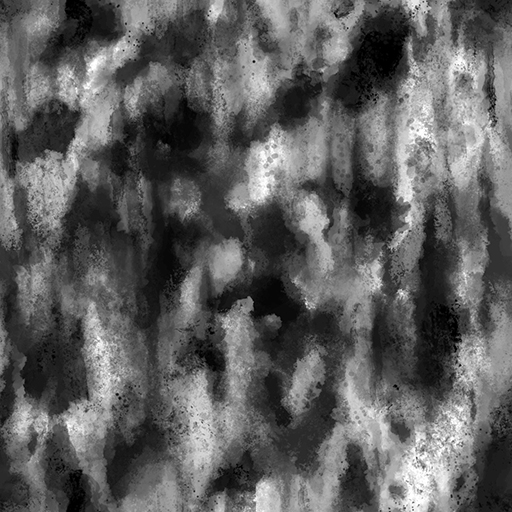
 | This map functions as sort of a hand painted AO mask for the boat. It's not entirely complete as is-- I've found recently that instead of spending too long getting carried away painting for hours, I'll just test a little bit in one area to bring in and preview if I'm getting the look I need from it before I continue. You can see here I've only added some of the studs at the front of the hull. On top of this, I can overlay a hand painted curvature map mask to get some edge detail in specific areas. |
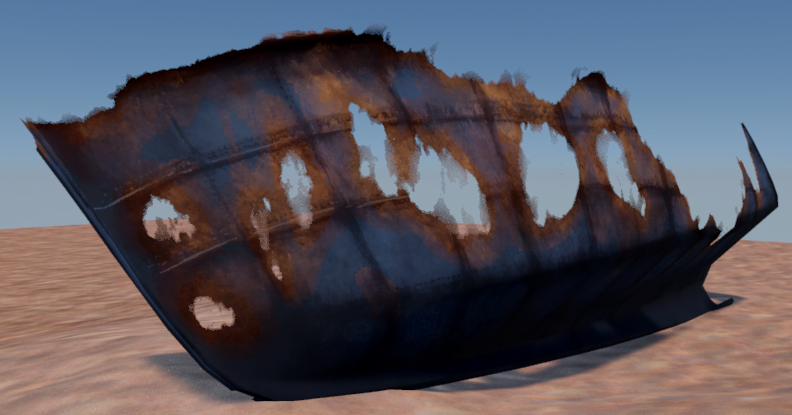 | 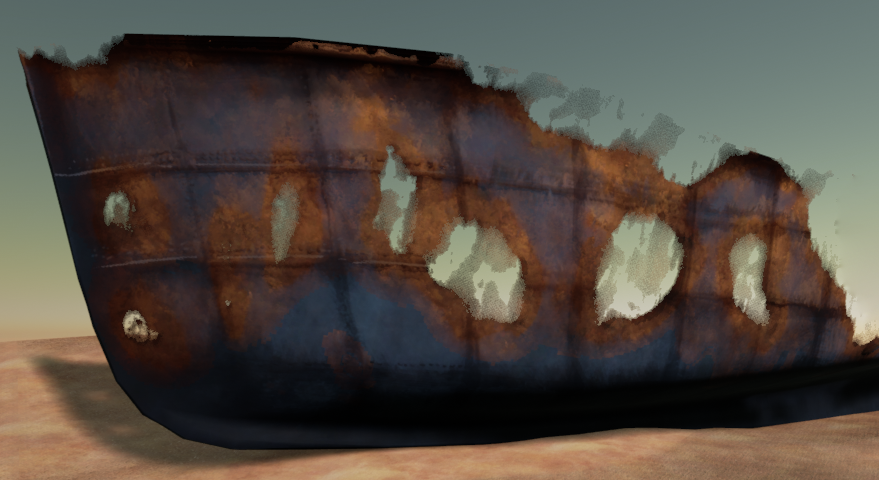 |
 | Both of these images above show the paint blending to the rust, which follows a similar but more clamped version of the opacity mask for the deteriorating parts of the boat (left.) I think the transition between the rust and paint could be taken much further by having even an additional mask that follows this one but helps to define the edge/transitional border between these two materials. Right now, to break up the blending with more than just an opacity blend, the mask on the left is multiplied in the material by a black and white hand painted brush stroke map for an additional textural quality to these edges. |
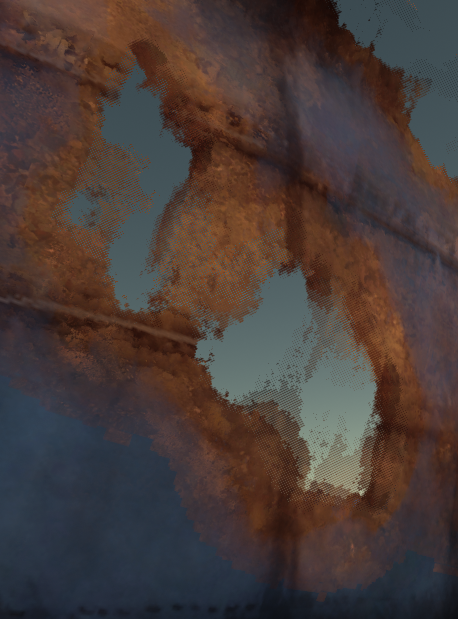 | You can see in the image on the left, the boat looks more thin-walled than the one on the right. This is where the duplicated mesh shells with different material instances applied work as cross sections to really help along the illusion of multiple layers of rust and textural depth. |
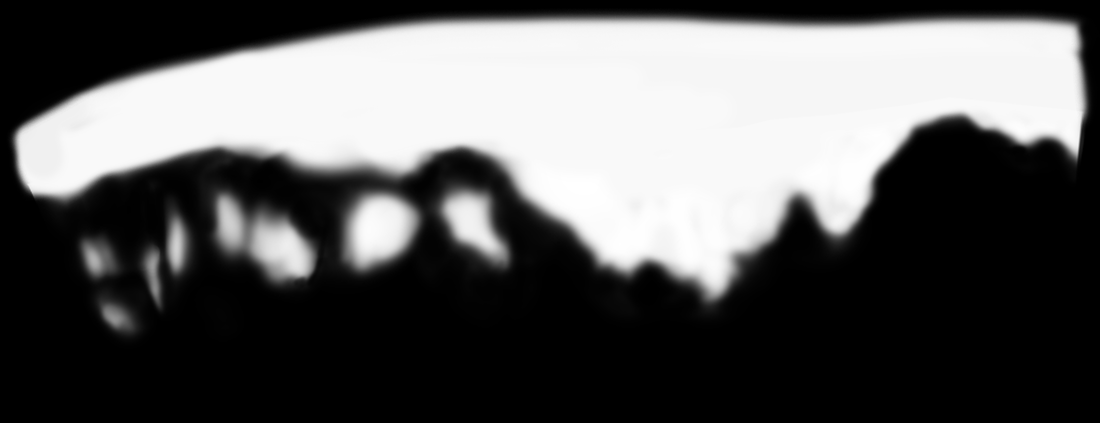
 | 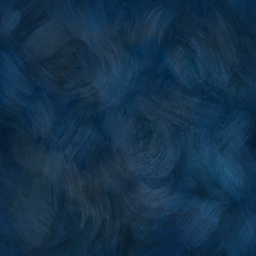 | Some more hand painted maps from this week - the first a rust-like mask I'm using to blend between the paint and rust, and the second a varied paint color for the painted boat material (which still needs more work.) |
I've found tremendous use in my work so far compiling assets within a Blueprint that can be dragged into the editor with all of the components it needs to be a complete asset. For example, for my boat, I have a few duplicate shells of the original mesh. This allows me to keep them all hooked up to one master asset I can drag around.
Another benefit is that any global Material Parameter Collection values can be exposed to the Blueprint, so that I can modify material effects by clicking on the boat blueprint and changing values in the details panel. This is how I plan to manage and test the different sequential stages of deterioration that I've allowed for in the material. The transition will happen by blending/lerping the hand-painted mask that designates areas of deterioration to the next hand-painted mask with increased area of deterioration (the next stage or "keyframe" of the transition.) So to control the transition, I'll divide up 0 to 1 into the stages of the sequence, and at the end have one controllable value to slide back and forth between 0 and 1 to make the transition happen. This makes it easy to hook up to anything - distance, triggers, timelines or matinee.
Another benefit is that any global Material Parameter Collection values can be exposed to the Blueprint, so that I can modify material effects by clicking on the boat blueprint and changing values in the details panel. This is how I plan to manage and test the different sequential stages of deterioration that I've allowed for in the material. The transition will happen by blending/lerping the hand-painted mask that designates areas of deterioration to the next hand-painted mask with increased area of deterioration (the next stage or "keyframe" of the transition.) So to control the transition, I'll divide up 0 to 1 into the stages of the sequence, and at the end have one controllable value to slide back and forth between 0 and 1 to make the transition happen. This makes it easy to hook up to anything - distance, triggers, timelines or matinee.
