Working more on the spline mesh trees this week. My original idea was to be able to drag out spline branches to an end transform point, but I've found that it's not possible to show widgets in editor for the Blueprints that are generated by other Blueprints. So, the end points have to be randomly determined (guided by parameters) instead of being able to freely drag out the end transform widget. This was a bit of a disappointment.
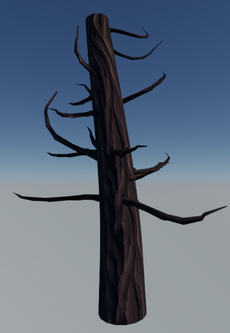 | Overall this is a just bit less wonky than last week. I overhauled the method for how the branches should be placed so that I could enable them to have an awareness for how far the branches are being placed from each other. It follows a system of dividing up the trunk spline into sections, and each of those sections store a cumulative array of the locations of the branches generated, so that each time a new one is placed in that section it checks the array to make sure it can't place the current branch in a place within a certain distance of another one. The positioning of the branches and their angles haven't yet been properly parameterized. The branches are just sticking out pretty straight, similar to a pine tree, and the trunk mesh is a cylindrical tube that goes all the way up. |
I took a break from trying to procedurally generate the branches and decided to make an example tree that demonstrates what look I am going for in the end. I figured it would help a lot to have an end result to strive for when trying to get these branches to generate correctly.
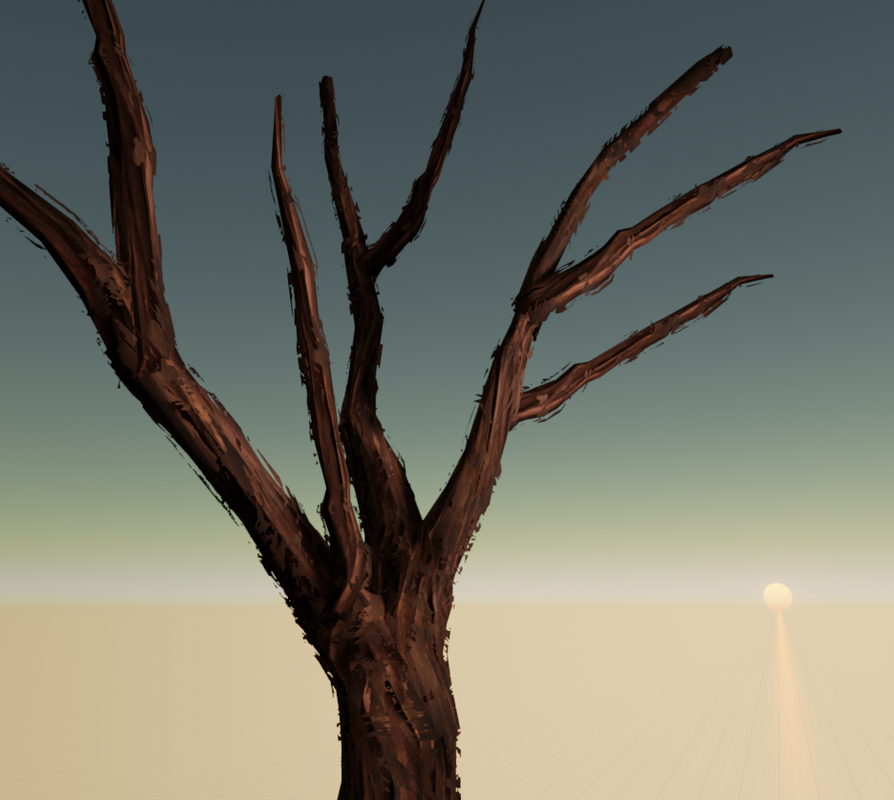 |  |
I started creating this tree using Zspheres to form the armature of a trunk and the main three branches that the trunk split up into. I sculpted the base trunk at a low subdivision to get an organic feeling to the mesh and get the silhouette I wanted. This is actually a relatively fast process.
In Unreal, this is loaded into a Blueprint as a static mesh component with my bark material applied, in addition to a duplicated version of the same mesh that has a different material instance of the bark material applied. The material instance pushes out the vertices of that second mesh along the vertex normal using World Position Offset. This creates an exterior shell identical to the original mesh.
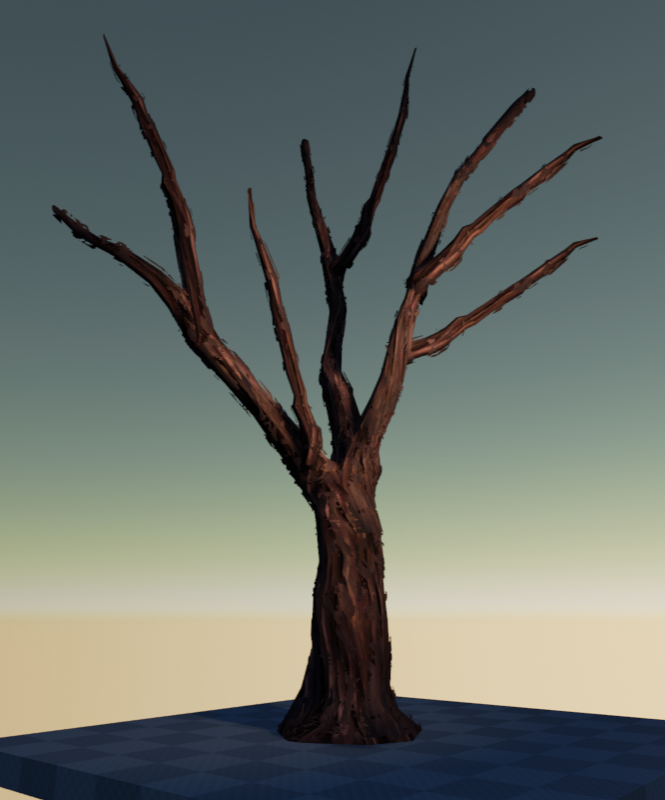
| The material instance on the additional shell mesh has a hand painted grayscale brush stroke opacity map applied. It uses the same diffuse texture as the original material, but offset and lerped with a noise. Originally I had been going with an idea of doing smaller brush strokes, one applied to each plane, and a bunch of planes would be covering the surface of the mesh-- but I am liking the broader coverage of this brush stroke map applied to an entire tree mesh. This is by no means the complete end result. I feel like a lot can be done with even more silhouette addition meshes, and fresnel to mask out some areas, clamping the texture differently, etc-- but this is a nice base to show the effect I am going for. | 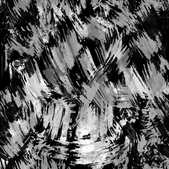 |
| Through this I've been learning a lot about painting tiling textures. The problem with the diffuse texture I had painted last week was that it wasn't getting the right amount of texture and color that I wanted. It also wasn't even enough all around, so some areas stuck out when tiling. A lot of the time I'll paint all on one layer and not use layers and masking to their fullest. For this texture, I painted rough brush strokes all around the canvas on a new layer, painting and erasing to get the right shape, and then I used those strokes as a mask to paint within. This allowed me to loosen up my brush strokes by "coloring outside of the lines" but at the same time, keep them confined to the borders of the mask. I also achieved some unexpected results with blending options. | 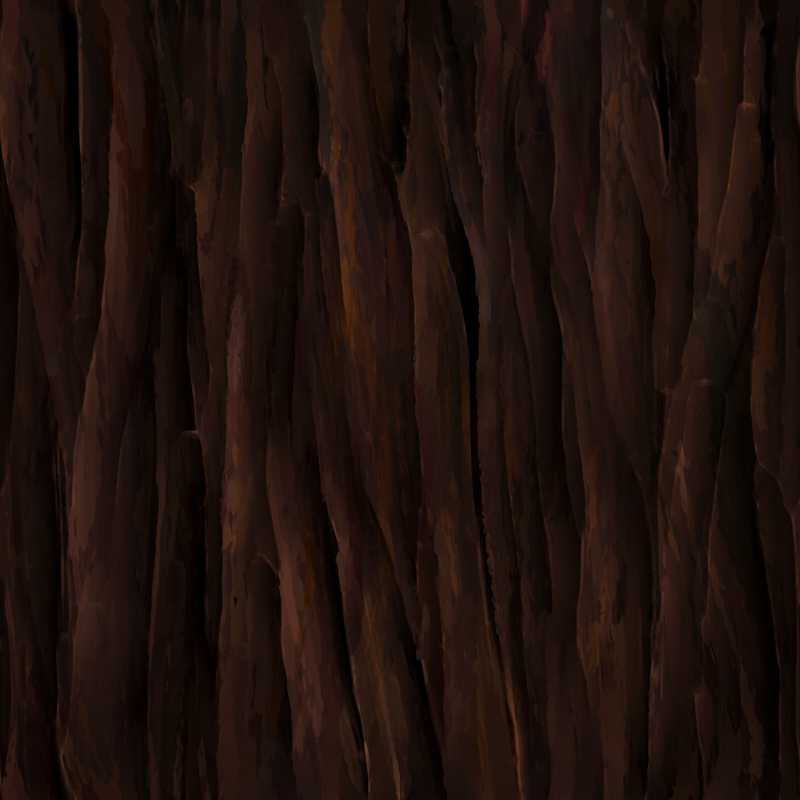 |
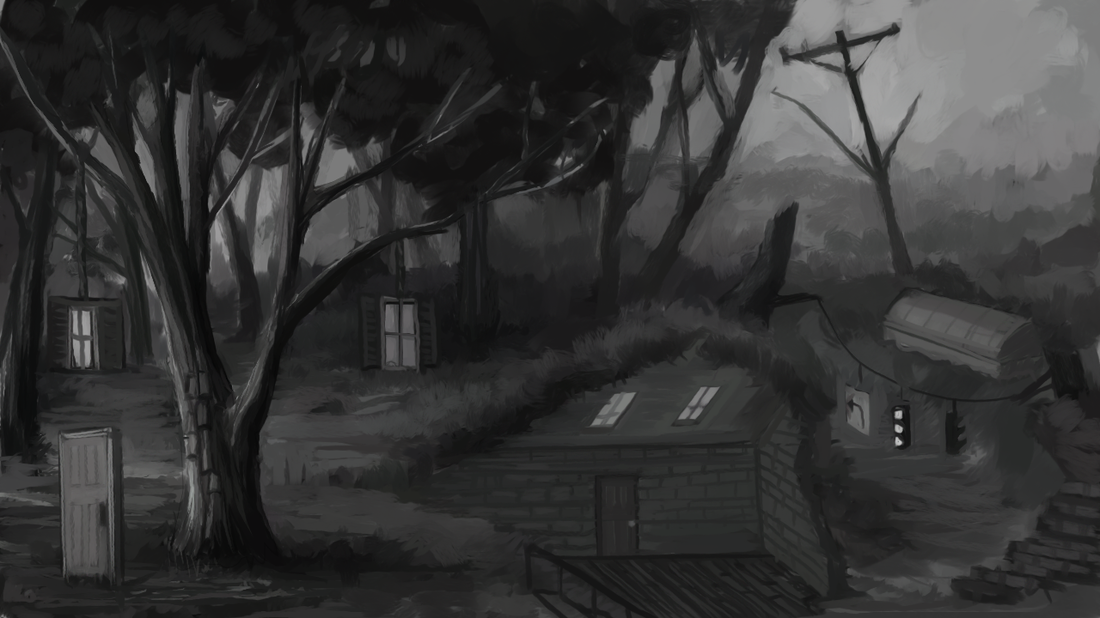
Here is another concept painting I did this week to outline some of my ideas for the familiar dream environment I'll be pursuing.
Next week I'll be working on something else-- a more static, visually based asset -- alongside my trees. Working with procedurally generated assets can be a bit frustrating after spending hours troubleshooting and cleaning up for little visual result.
WORK LOG
Procedural spline trees: 12 hours
Texture painting and material creation: 10 hours
Painting: 5 hours
Presentation, design doc, blog: 11 hours
Texture painting and material creation: 10 hours
Painting: 5 hours
Presentation, design doc, blog: 11 hours
